
March 1, 2026
BattleBot Progress
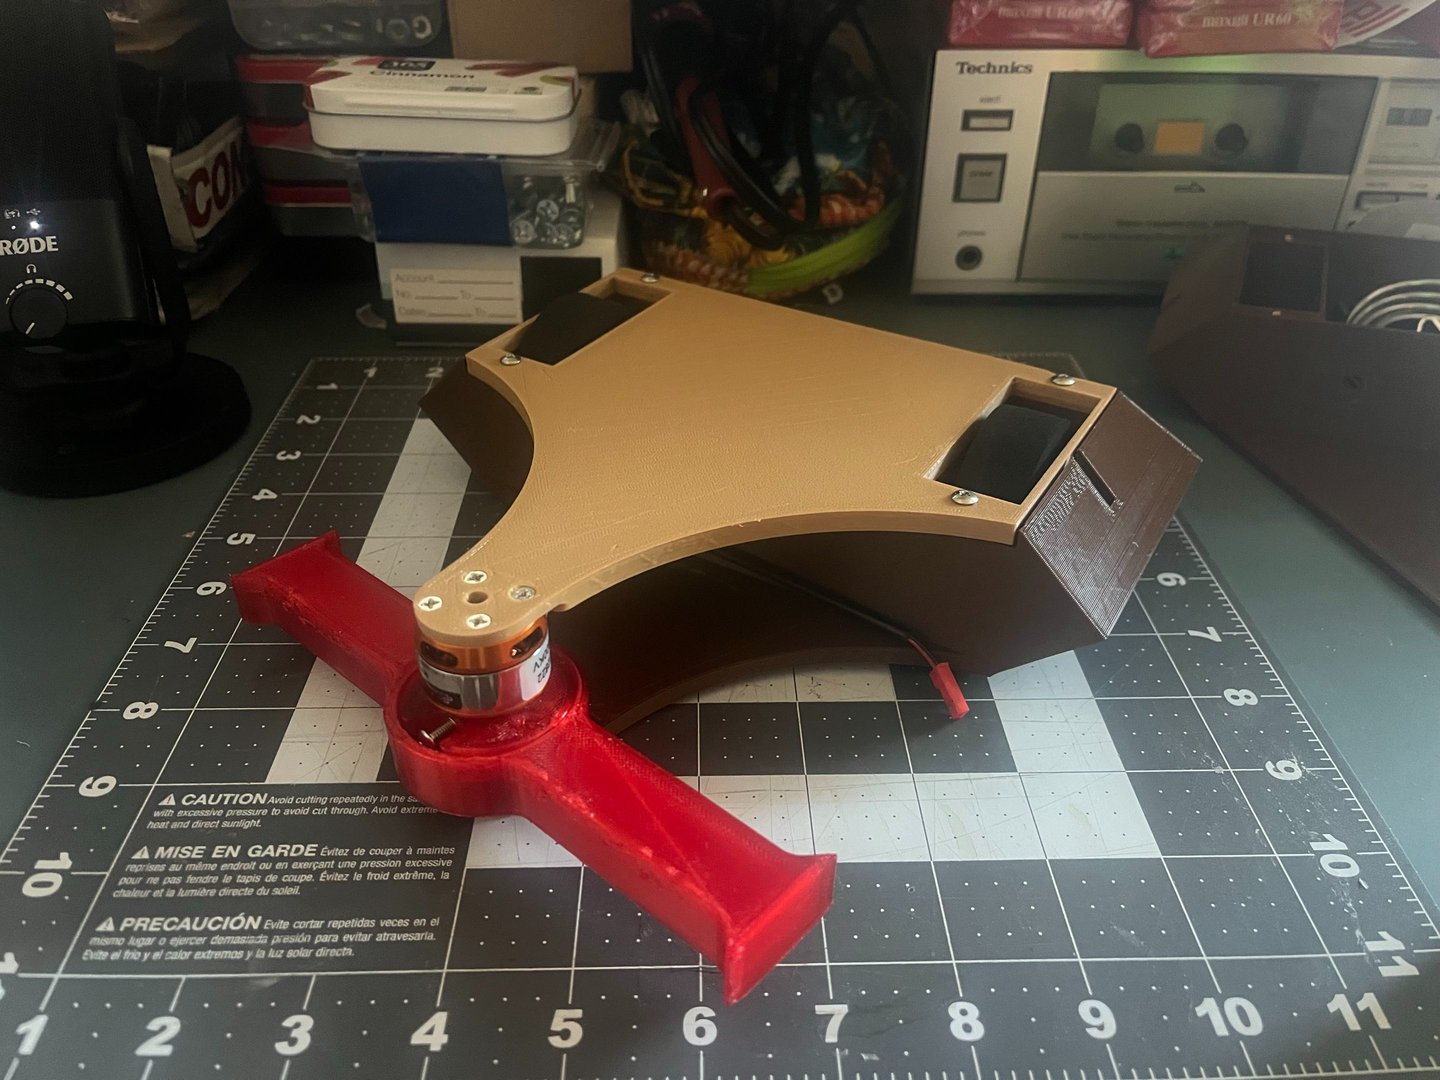
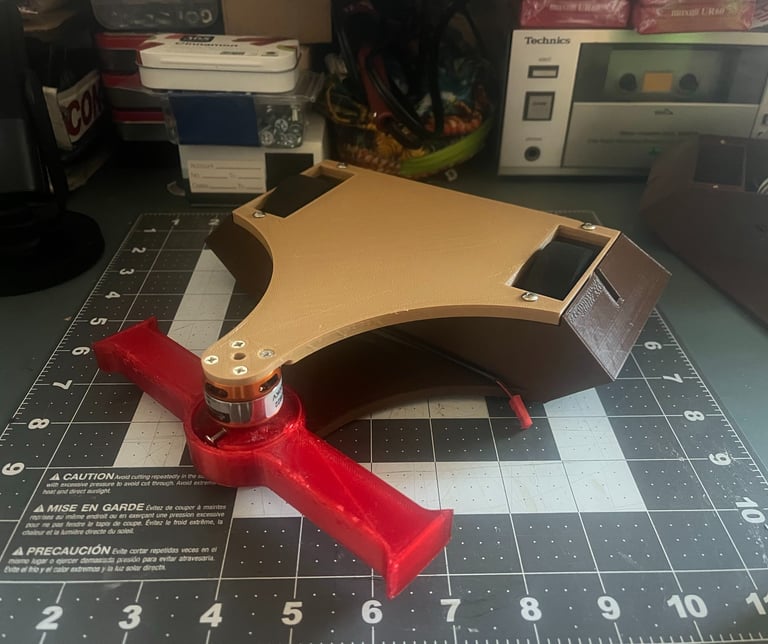
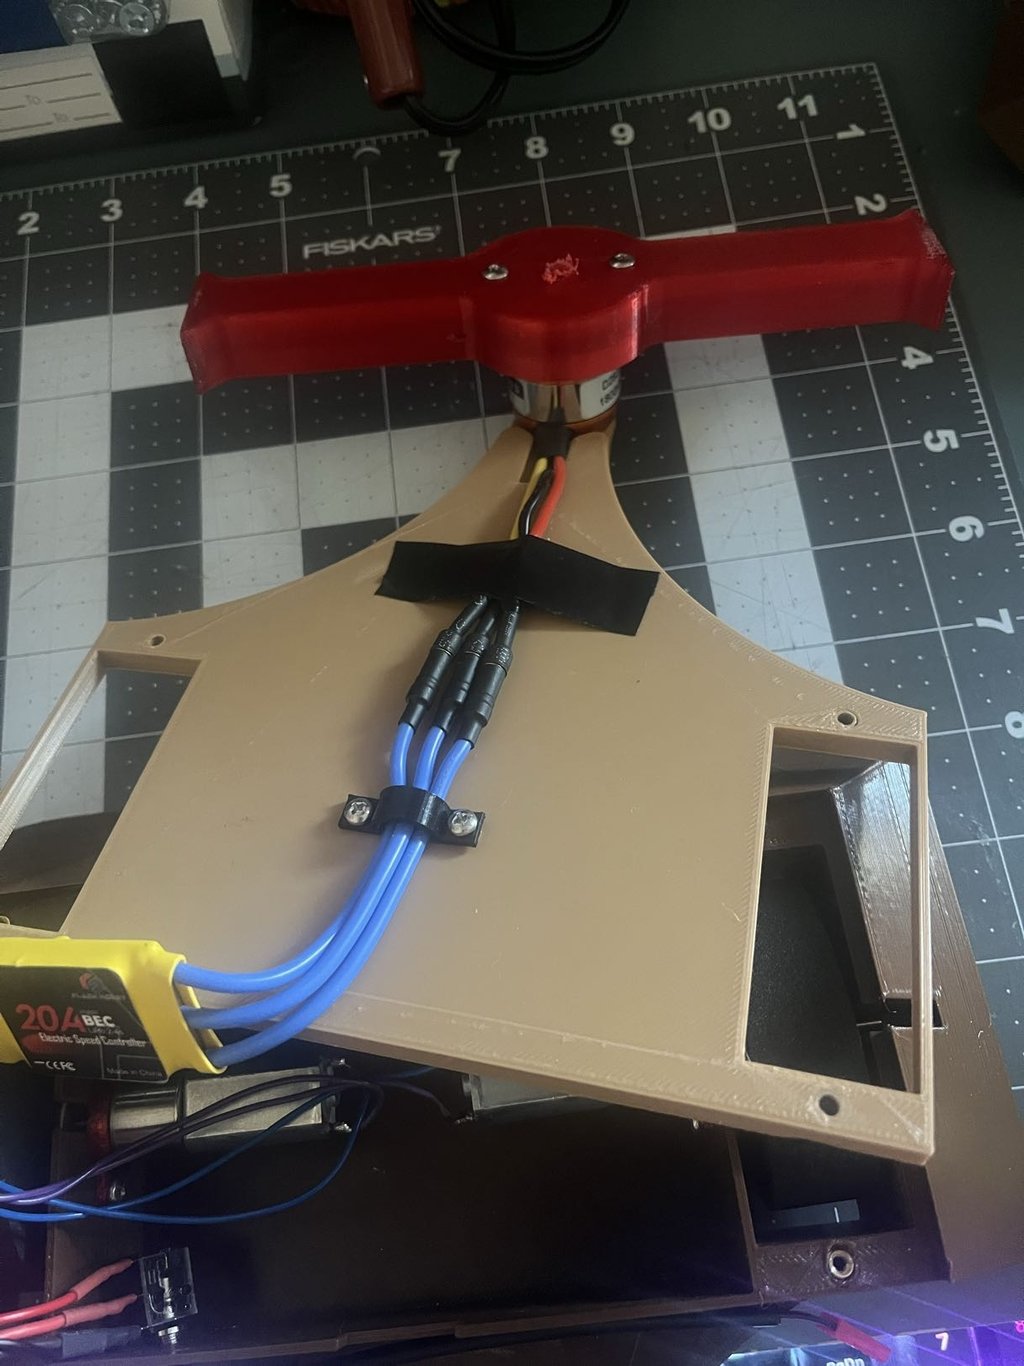
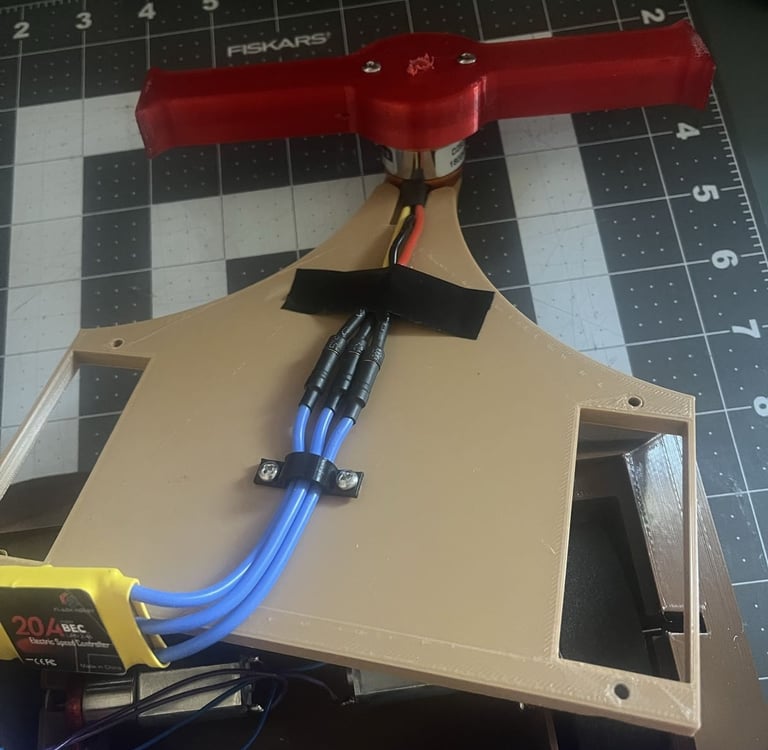
So... a lot has happened since the last post. Many early mornings spent revising and printing has led to lots of changes to the bot. All the parts came in and I quickly realized that my tolerances and clearances on my designs were way off. So after fixing that, I wound up with the bot pictured above. Below are some of the 3d models that show better how it is assembled.
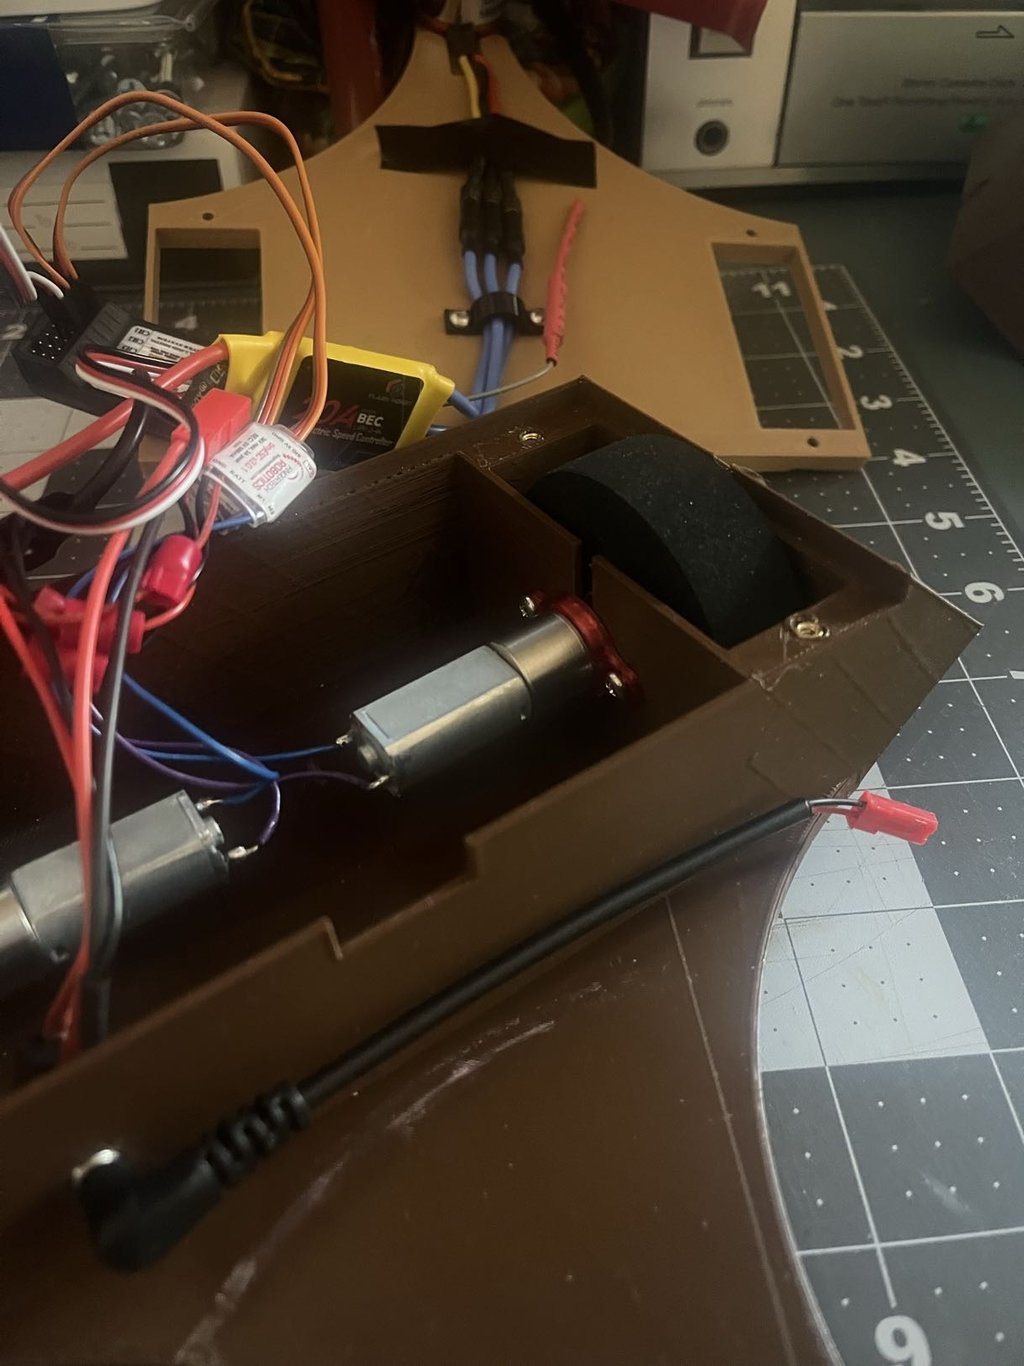
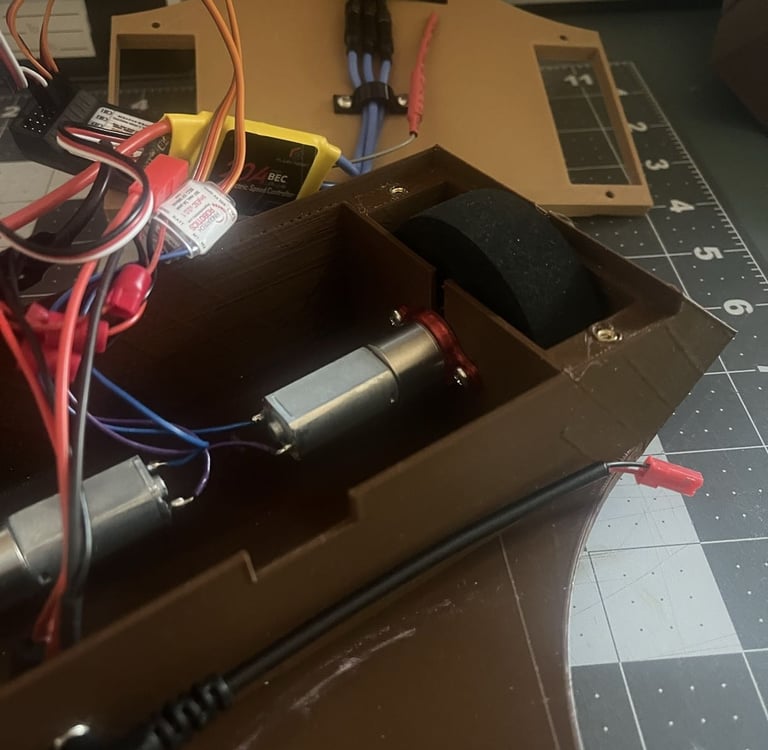
I'll admit I'm not a photographer but explained shortly, I had to revise the drive motor mounts after realizing I wouldn't be able to mount the motors before attaching the wheels, and I had to rework the chassis after receiving the weapon motor to properly size the weapon. I used an online calculator to determine how fast I wanted the tip speed of the weapon to determine the size of the weapon as well as the type of motor needed. We ended up with a tip speed of 200 mph which apparently is on the low end for battlebots?! I was able to test it a little bit in my apartment but for fear of sabotaging my security deposit I'll wait until an event to do any further testing.
This is a short post but I wanted to keep it punctual considering I'll likely change equally as much, if not more, of the bot before the next one.
I'm so glad I took on this project, though. So many lessons have been learned: to level my old 3d printer bed before every print, how to solder the drive motor connections, how to tolerance for inaccuracies in 3d prints specifically, how to size brushless motors, and I could keep on going. It's been a great time and I'm excited to continue on with it. Maybe once I reach closer to an end product I'm happy with, I'll sit down and do some more in depth explanation of the bot operation and explore some of those lessons learned.
Thanks for reading!
BattleBot Progress
Big changes since last post! Getting closer to a final design.